

Did you know that it’s easy to make updates to your SYNC3 system using a USB thumb drive? This tutorial will show you how to exactly do that.
First, you’ll need to download the updated file to your computer. To do that, login to your Ford Owner account and visit the SYNC software update page. If you don’t have a Ford Owner account, you can register by inputting your vehicle identification number, or VIN and your mobile phone number.
- Once you’ve logged into your Ford Owner account, click on Support. Then, the SYNC software Updates link. From there, you’ll see if an update is available for your vehicle. Then depending on which system you’re using, choose either Mac instructions or Windows instructions.
- Before you begin the download, first review the must have requirements. If you’re using a Mac system, you’ll have to download StuffIt Expander to unzip the files.
- You’ll need to format an empty USB as exFAT for both Mac and PC systems, that’s not password protected and can hold at least eight gigabytes of data. First, click what is exFAT and a pop up will appear to explain how to check if your USB is exFAT formatted. If all requirements are met, scroll down and click Begin Update, then Download Files.
- Once the SYNC3 update has finished downloading to your computer, move the file to the formatted USB. Mac users will locate the file on your computer, unzip it to open it and drag the file onto the USB drive. PC users can choose where to save the file.
- Right click and open the zipped file with File Explorer and then drag the unzipped files to the USB.
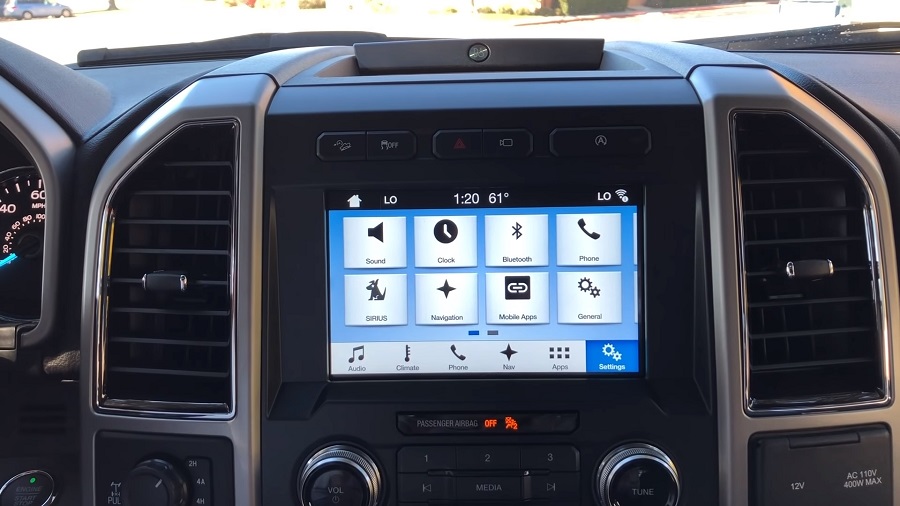
- Now it’s time to update your system. When inside your Ford F-150 vehicle, make sure the ignition switch is on and not in Accessory mode and your vehicle is in Park. Be sure to remove any USB drives or media devices from all other USB ports.
- Plug in the USB containing the update into a first row port in the instrument panel and installation will begin automatically. This may take several minutes to complete.
- Once SYNC3 has confirmed the update was successful, you can then remove the USB and take the USB drive back to your computer to report the update. Once logged into your Owner Account, insert the USB into your computer and click Select File. Then, follow the prompts to select the USB update file from the thumb drive. The website will update your file to reflect your current software version and allow us to let you know if a new update becomes available.


